OPENSTEP Installation Guide
What is this?
OPENSTEP was an operating system created by NeXT Software Inc. It served as the basis for Mac OS X after Steve Jobs came back to Apple after Apple acquired NeXT. This is simply to teach and show computer history.
Prerequisites
- OPENSTEP 4.2 User for Intel - Download
- OPENSTEP 4.2 Developer for Intel - Download
- Install Disk Floppy Image - Download
- Drivers Floppy Image - Download
- Network Driver + Patch 4 Bundle - Download
- Parallels Desktop 9+ OR VMware OR VirtualBox (this guide is for Parallels only, however, the files work with the other virtualization programs as well).
Optional Downloads
- Network Driver (Standalone for VirtualBox) - Download
- Various Drivers for VMware (for the brave of you) - Download
- OPENSTEP 4.2 Dev Patch (Standalone) - Download
Set up a VM
- Create a new VM inside Parallels. Select "Other" as OS.
- Make sure to configure the hardware:
- CPU: 1
- RAM: 64 MB
- Graphics: 64 MB with 3D Acceleration and Vsync
- 2 GB simple Disk
- Configure HDD, Floppy and CD like this:
- HDD on IDE 0:0
- CD on IDE 1:0
- Floppy Connected
Mount images
- Mount
4.2_Install_Disk.floppyimage in the floppy drive.
- Mount
Openstep-4.2-Intel-User.iso in the CD drive.
Installation
Preparing the installation
- Boot up the VM. When asked to enter something, do NOT enter anything and wait.
- Enter the number of the language you want to use. 1 is English, 3 is German.
- When asked to erase the hard drive, do so by entering 1.
- Now the installer will ask you to insert the driver disk. Do so by switching the floppy image to
4.2_Custom_Driver_Disk.floppyimage. Then press ENTER.
- When presented with the drivers screen, enter 7 twice until you can see the entry for
Primary/Sencodary(Dual) EIDE/ATAPI Device Controller (v4.03).
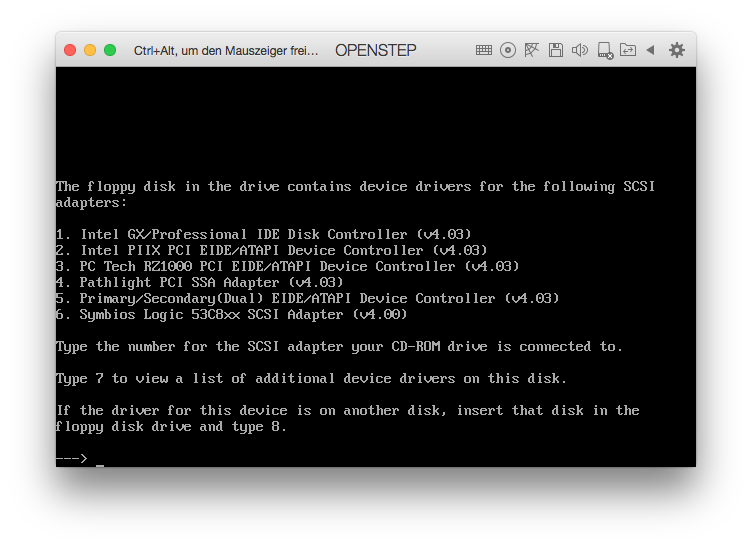
Enter 5.
- Repeat Step #5.
- When asked if you want to load additional drivers, enter 1 to continue without doing so.
- You will now see a white screen loading stuff. Let it run. If a kernel panics happens here, make sure the CD and HDD are connected to the correct IDE slots.
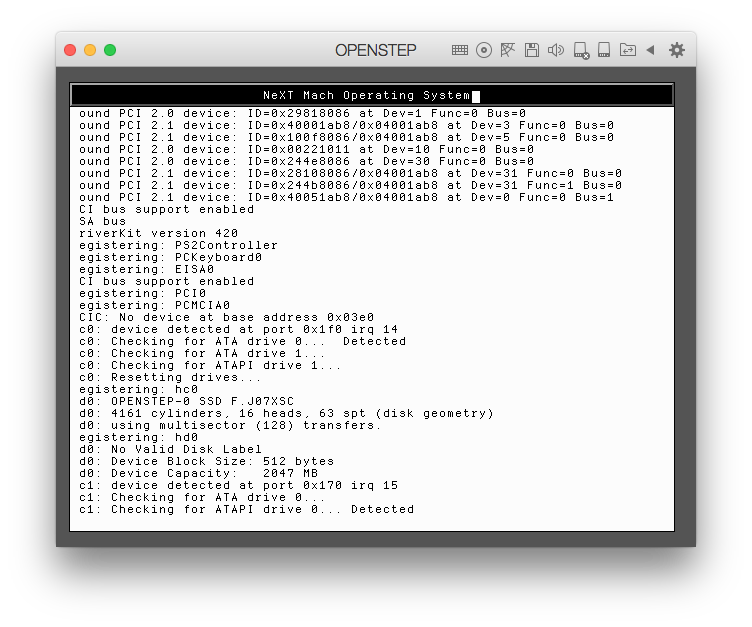
Running Setup
- You are now entering the setup. Enter 1 to start.
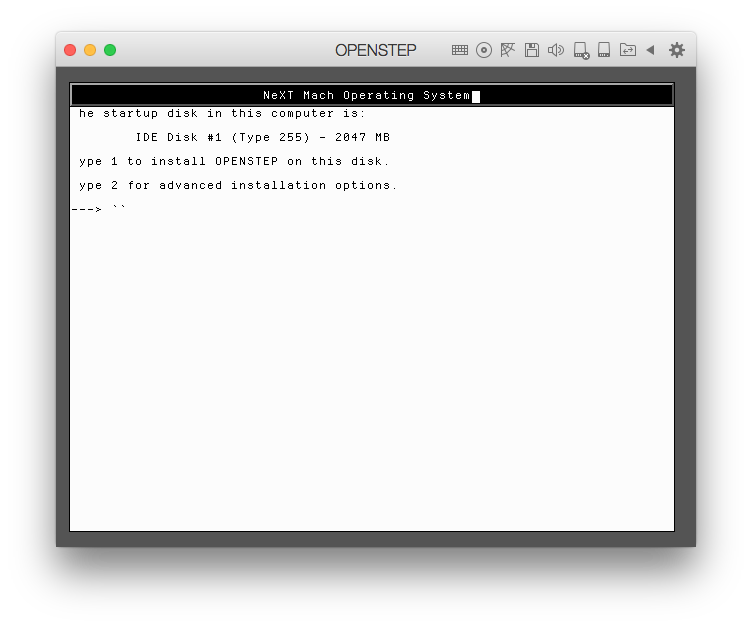
- Continue entering 1 until setup beings. This will only format the drive.
- Wait until the installer finishes. You will see a progress bar of dots and equal signs. They will fill twice.
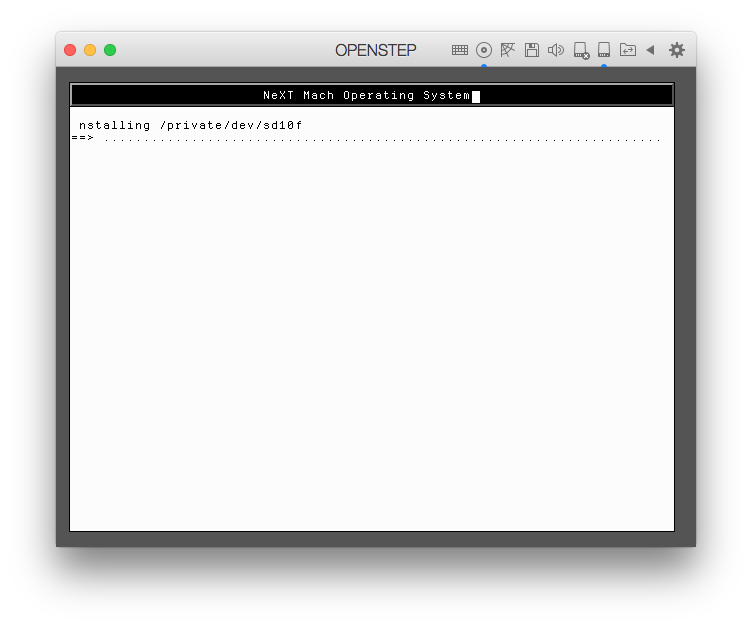
- When the installer finishes, disconnect the floppy drive and press ENTER.
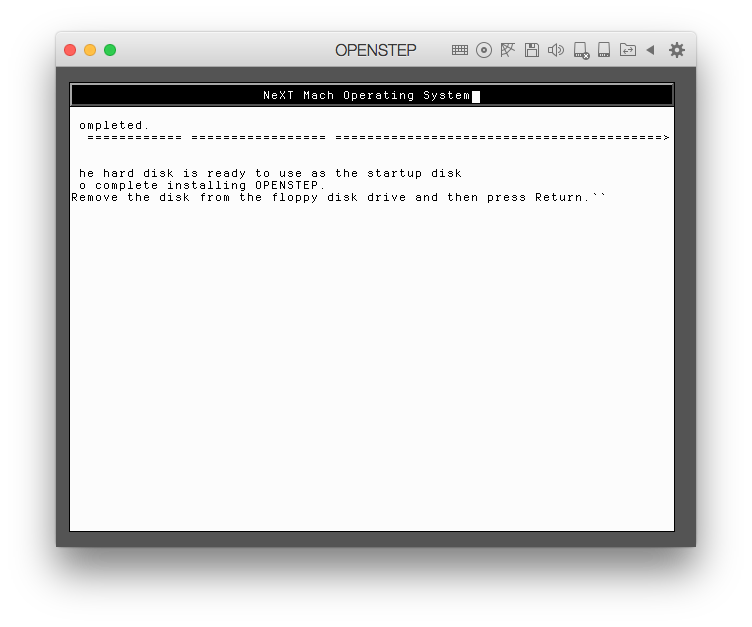
This step will take a moment.
Configuration
- OPENSTEP will now complain about missing drivers. Insert the drivers floppy again and enter 1.
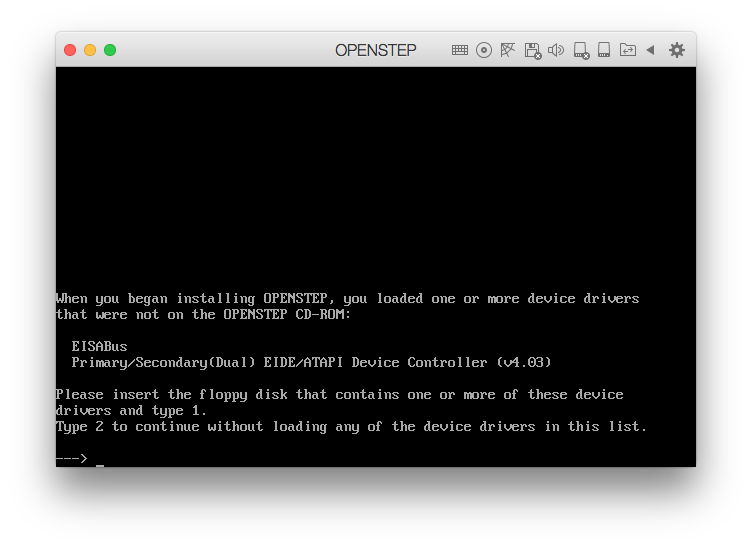
- OPENSTEP will boot and load up.
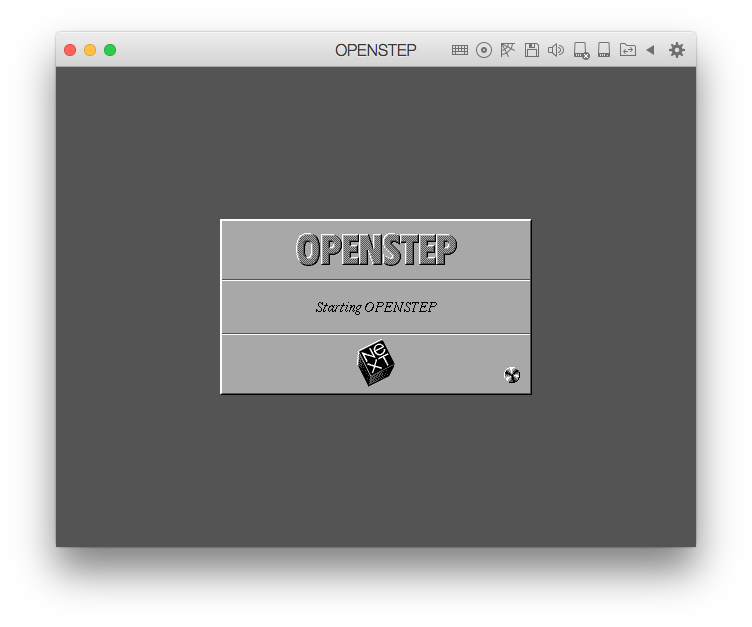
- Two alerts will pop up. Simply press OK.
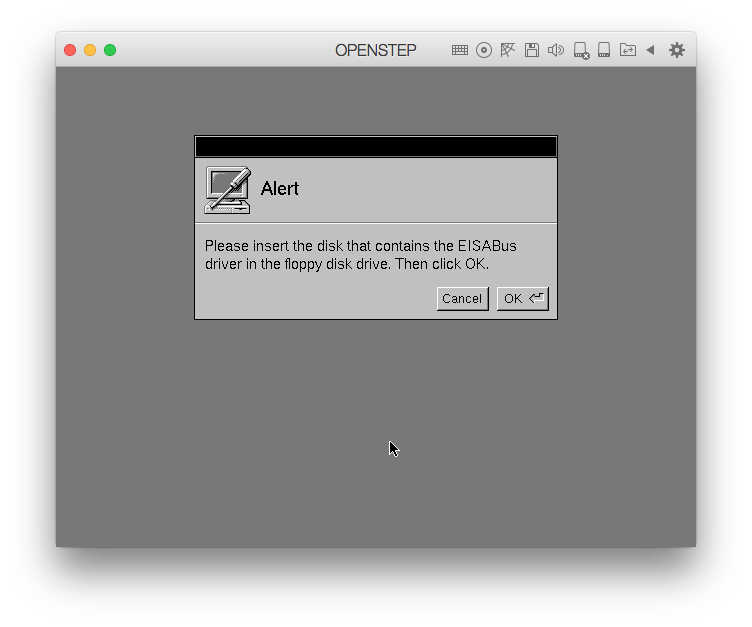
- You will see a dialog "Summary of Devices". Do not change anything here. Just save and confirm the dialog warning of an incomplete configuration.
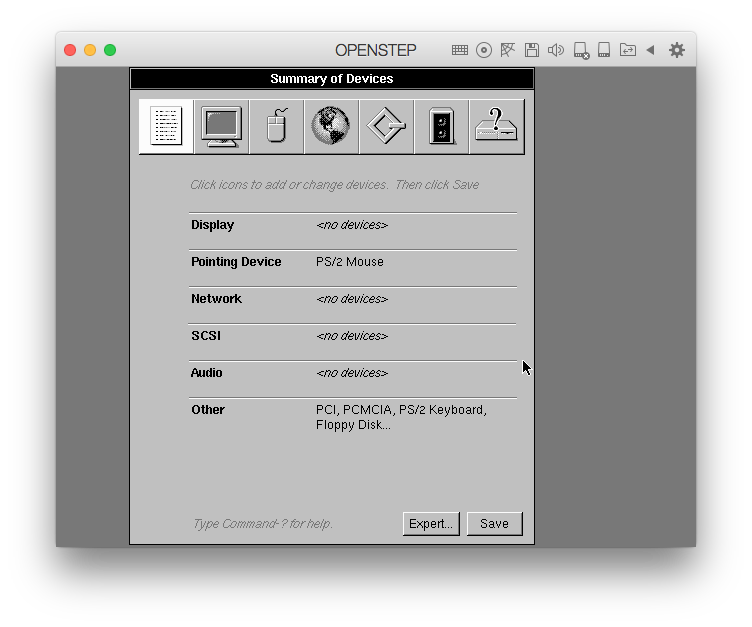
Configuring stuff already can break the VM so don't do it.
- In the following dialog uncheck all languages that you don't want. Leave the rest checked.
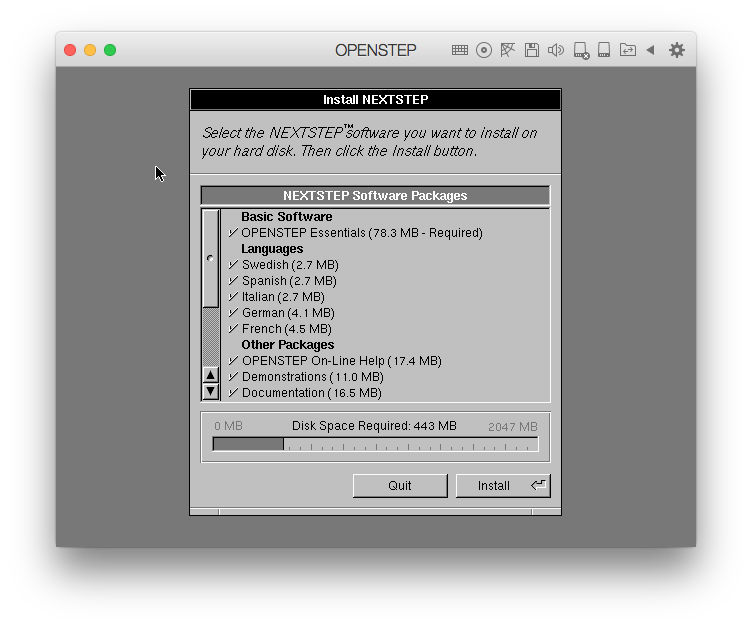
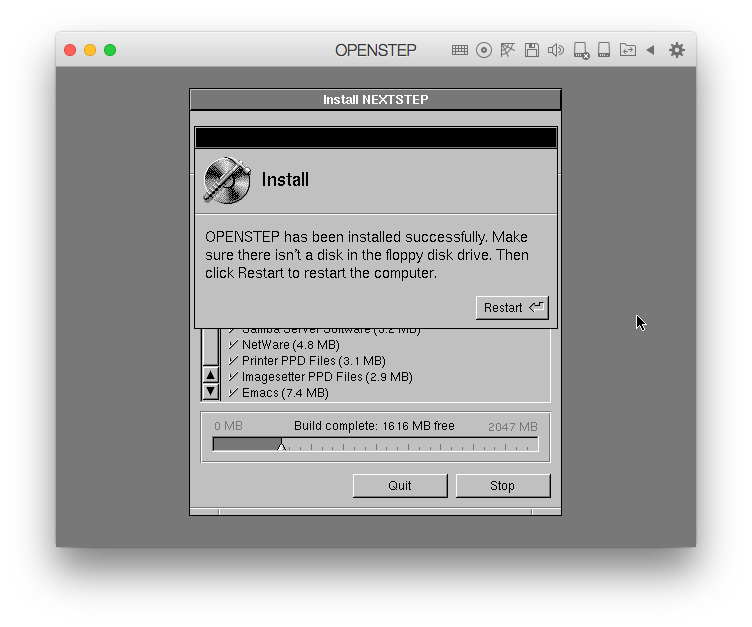
The installer will now take a short moment to configure the packages. Even though the installer says it's NeXTSTEP, it is OPENSTEP.
- When the installer has completed, disconnect the floppy and restart.
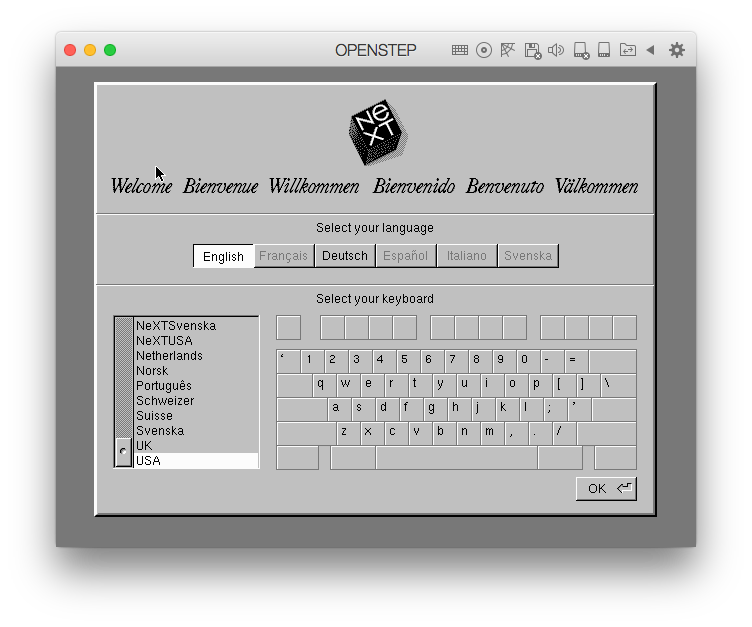
- In the upcoming dialog, select your preferred language and keyboard layout and continue.
- If any dialog appears stating that the floppy is unreadable, simply press
Eject and continue with the next part.
The system is now installed...
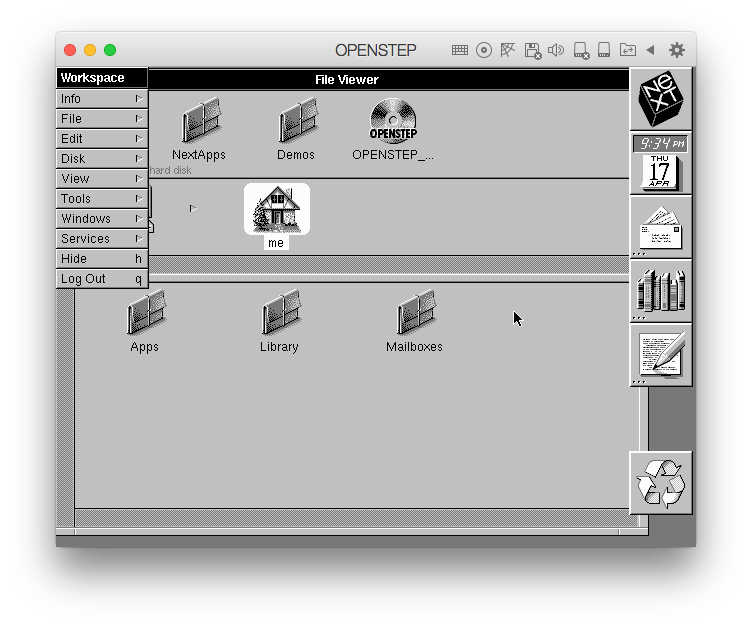
...but you're missing drivers.
The system doesn't have any graphics or networking drivers, yet. We're going to solve at least the graphics. We will now install Patch 4 that solves the Year2K-bug and introduces a VESA-driver for better graphics. Do not get scared by the number of steps. Many steps are only clicks on buttons.
- Click on
Disk, then Eject inside the Workspace menu. If there is any complaint about something being unreadable, simply eject anway.
- Mount
ne2k+os42patch4+vmwarefb.iso into the CD drive (you can eject the installation iso).
- Click on the newly visible CD icon.
- Copy the contents of the CD to the folder
me. You do so by marking all three items and dragging them to me.
- Go to
me and double click os42machuserpatch4.tar. This will bring up a dialog stating that the file is compressed. Click Unarchive there.
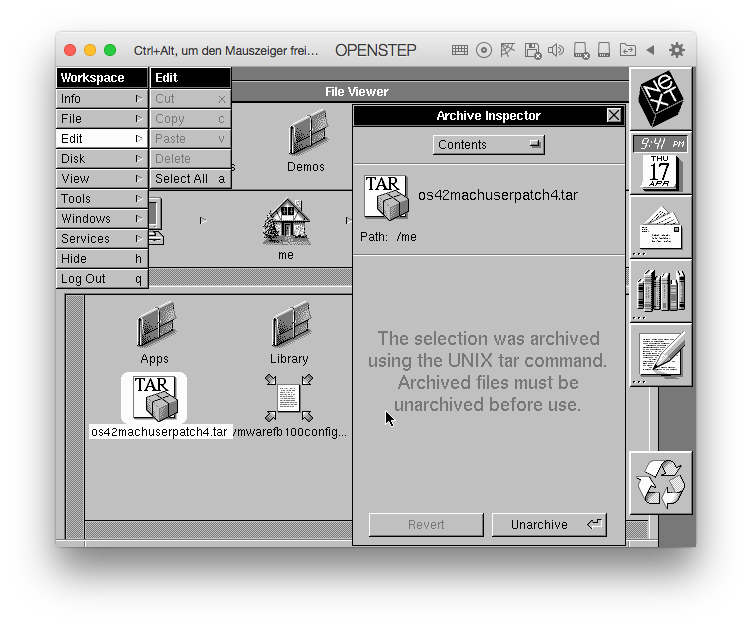
- Please be patient. You wil not see any progress. Wait until you see a new file
OS42MachUserPatch4.pkg before you close the inspector.
- Open
/NextApps/Terminal.app.
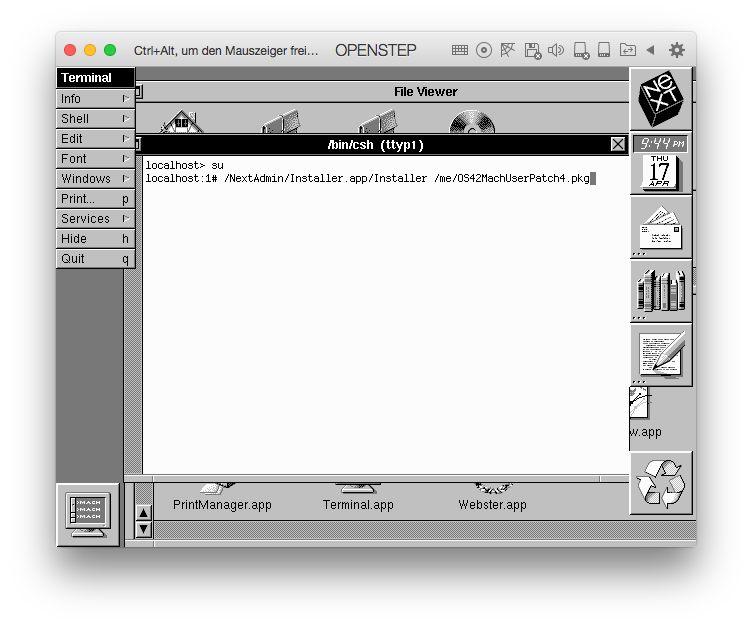
- Type in the following commands:
su
/NextAdmin/Installer.app/Installer /me/OS42MachUserPatch4.pkg
- Click
Install in the now appearing Installer.
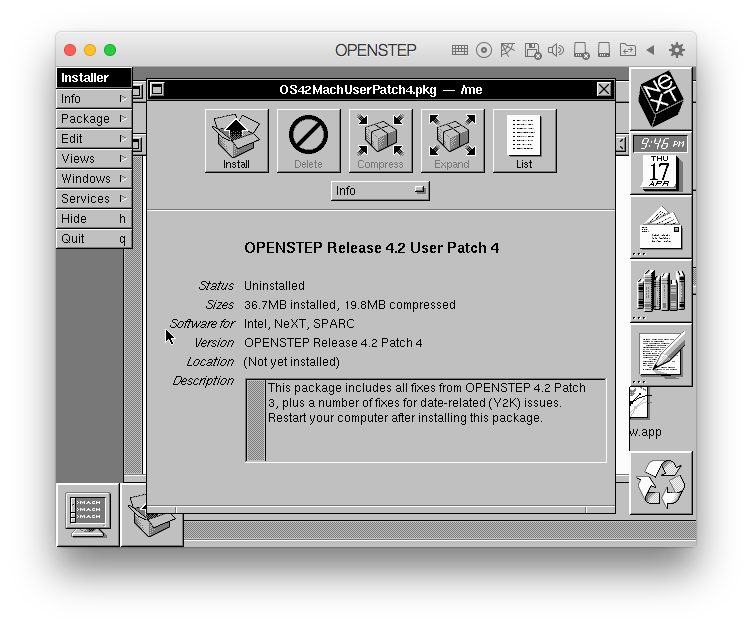
- Leave everything at default and click
Install.
- When asked to confirm that the package runs programs during the operation, click
Continue.
- When asked to continue even if some of them are installed, click
Continue.
- When the installation has completed, reboot by double-clicking the NeXT-icon in the upper right, then
Log out and finally Power off.
- OPENSTEP will now shut down and then tell you it's safe to turn it off. Reset the VM and let it boot up again.
- You may read again that the floppy disk is unreadable. Eject it once again.
- Run
/NextAdmin/Configure.app.
- Click on the monitor icon in the top row. In the now appearing dialog scroll down to
VESA VBE 2.0 Display Driver (v1.00). You cannot use the wheel to scroll but have to drag the scrollbar on the left. Then click Add.
- Click
Done, then Save.
- Reboot once more.
- You will now see a blue/white window while booting instead of the Openstep logo. If this happens, you've installed the driver successfully. You should then get a "nicely" colored desktop.
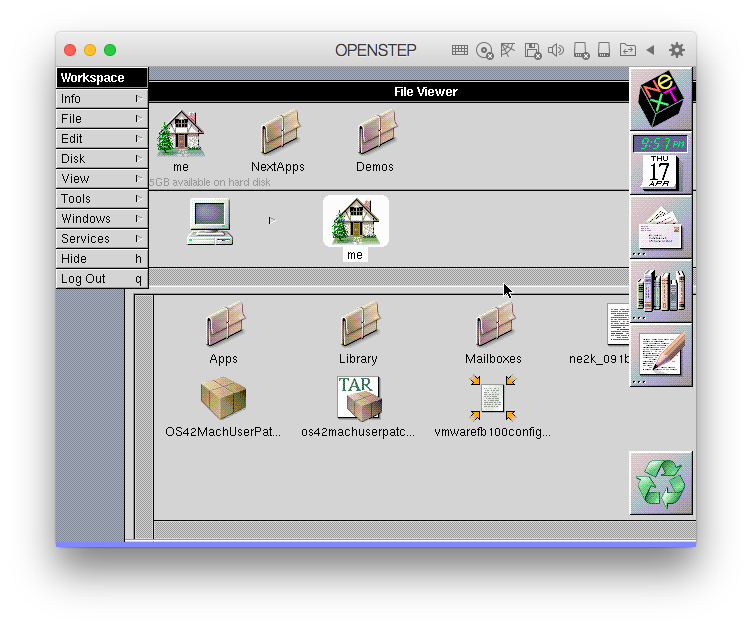
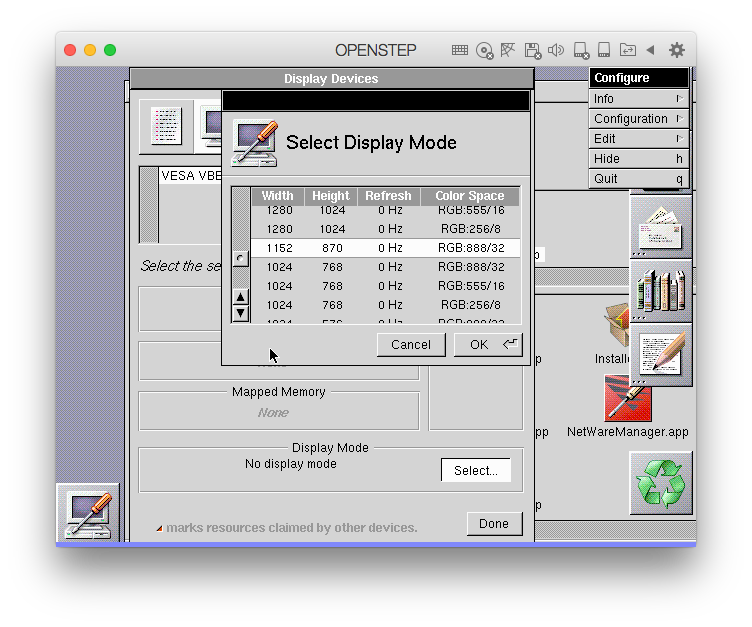
- We'll now change the resolution so you have more space to work with. To do that open up
/NextAdmin/Configure.app once more, click on the monitor symbol and click Select in the section Display Mode. Choose a resolution you like but don't shoot too high. I recommend 1152x870.
 .
.
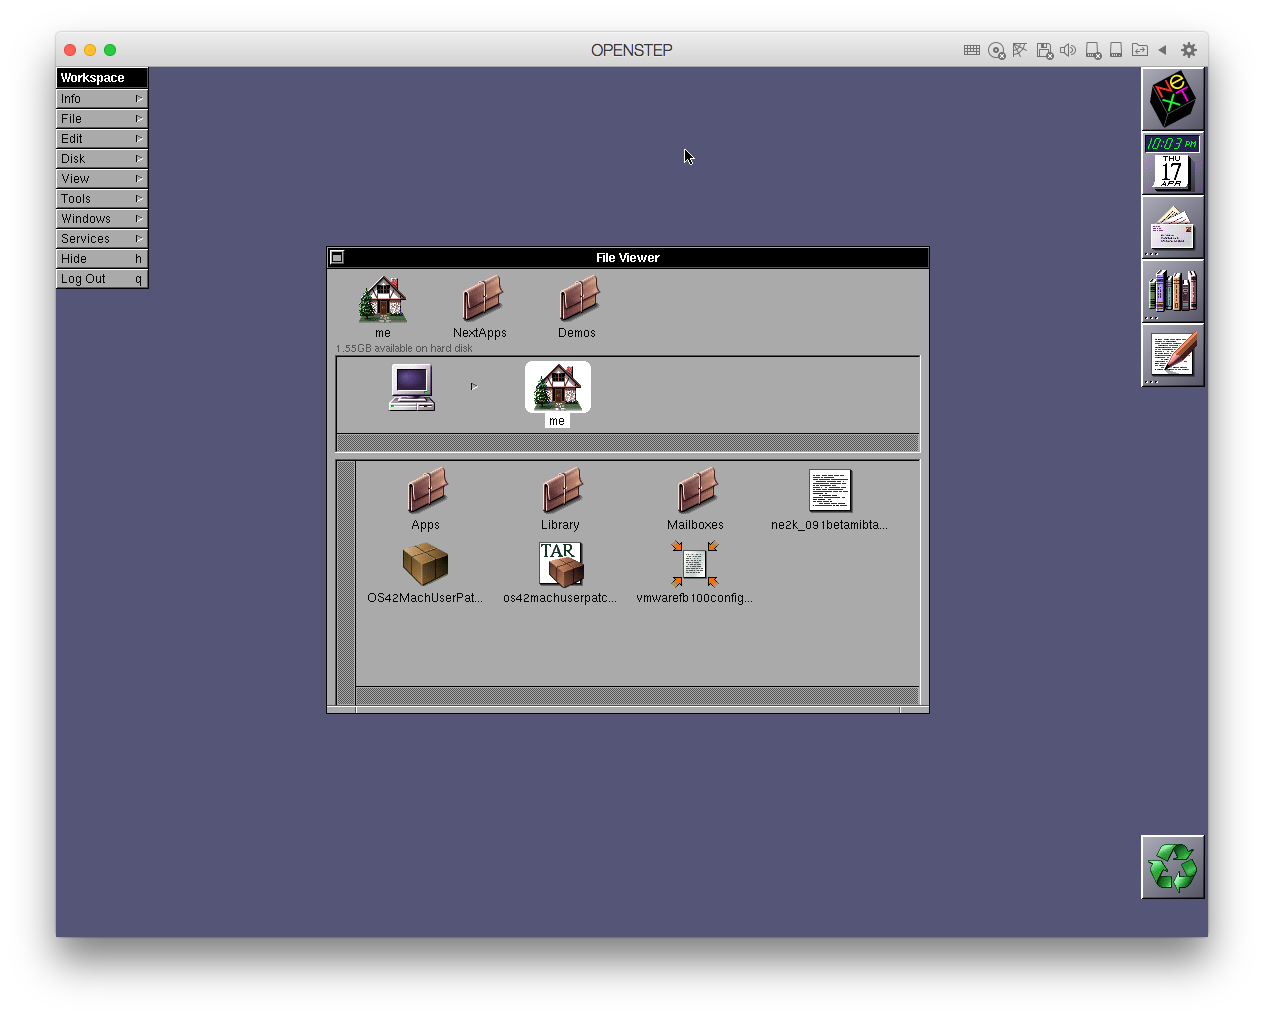
- Reboot again after saving and tadaa, you have more space!
Setting up Networking
The following guide has been provided by Greg Mazzeo via email who figured out a way to get networking up and running. Thanks for your help!
To enable the network adapter you have to force a certain type called rtl.
- Shut down the VM if it is running.
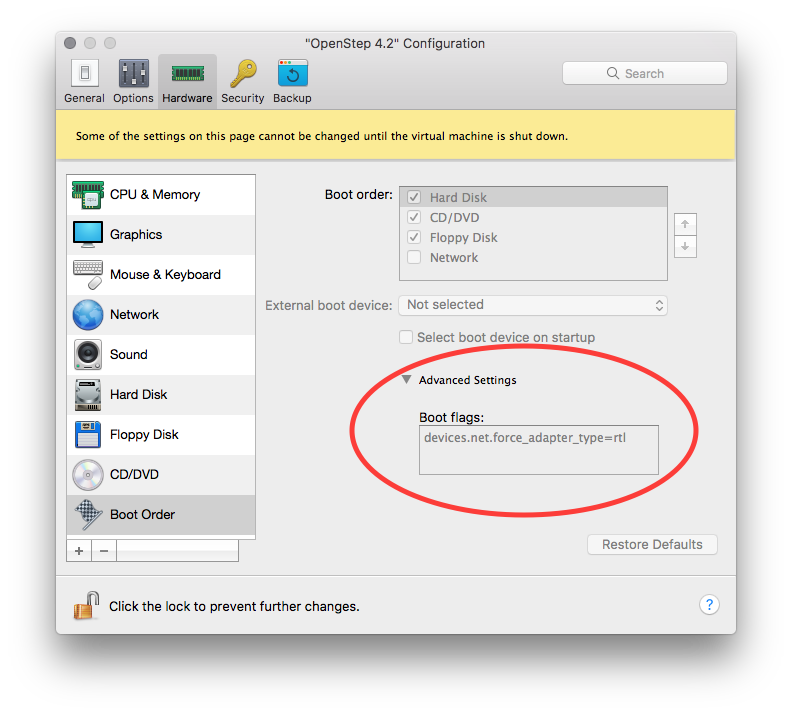
- Open your VM's hardware settings.
- Click on
Boot Order.
- Enter the following snippet into the 'Boot flags' field:
devices.net.force_adapter_type=rtl
- Boot up your VM again. You should have internet now 🎉. You can verify by opening
/NextAdmin/SimpleNetworkStarter.app. You should
not see a message that an adapter is missing.
You're done!
The VMware-file is for VMware users who like to experiment with more than the standard VESA driver.
Have fun running the system that saved Apple and probably made a whole new industry possible!
Additional Notes
The developer image provides development tools like Interface Builder and sample Objective-C code to explore. You can run all the samples by clicking the Demos folder in the toolbar.
If you have any additional tips or something to add to this guide or just want to say hi, contact me at openstep@bfx.re.
Last Update
September 2nd, 2018


 .
.
